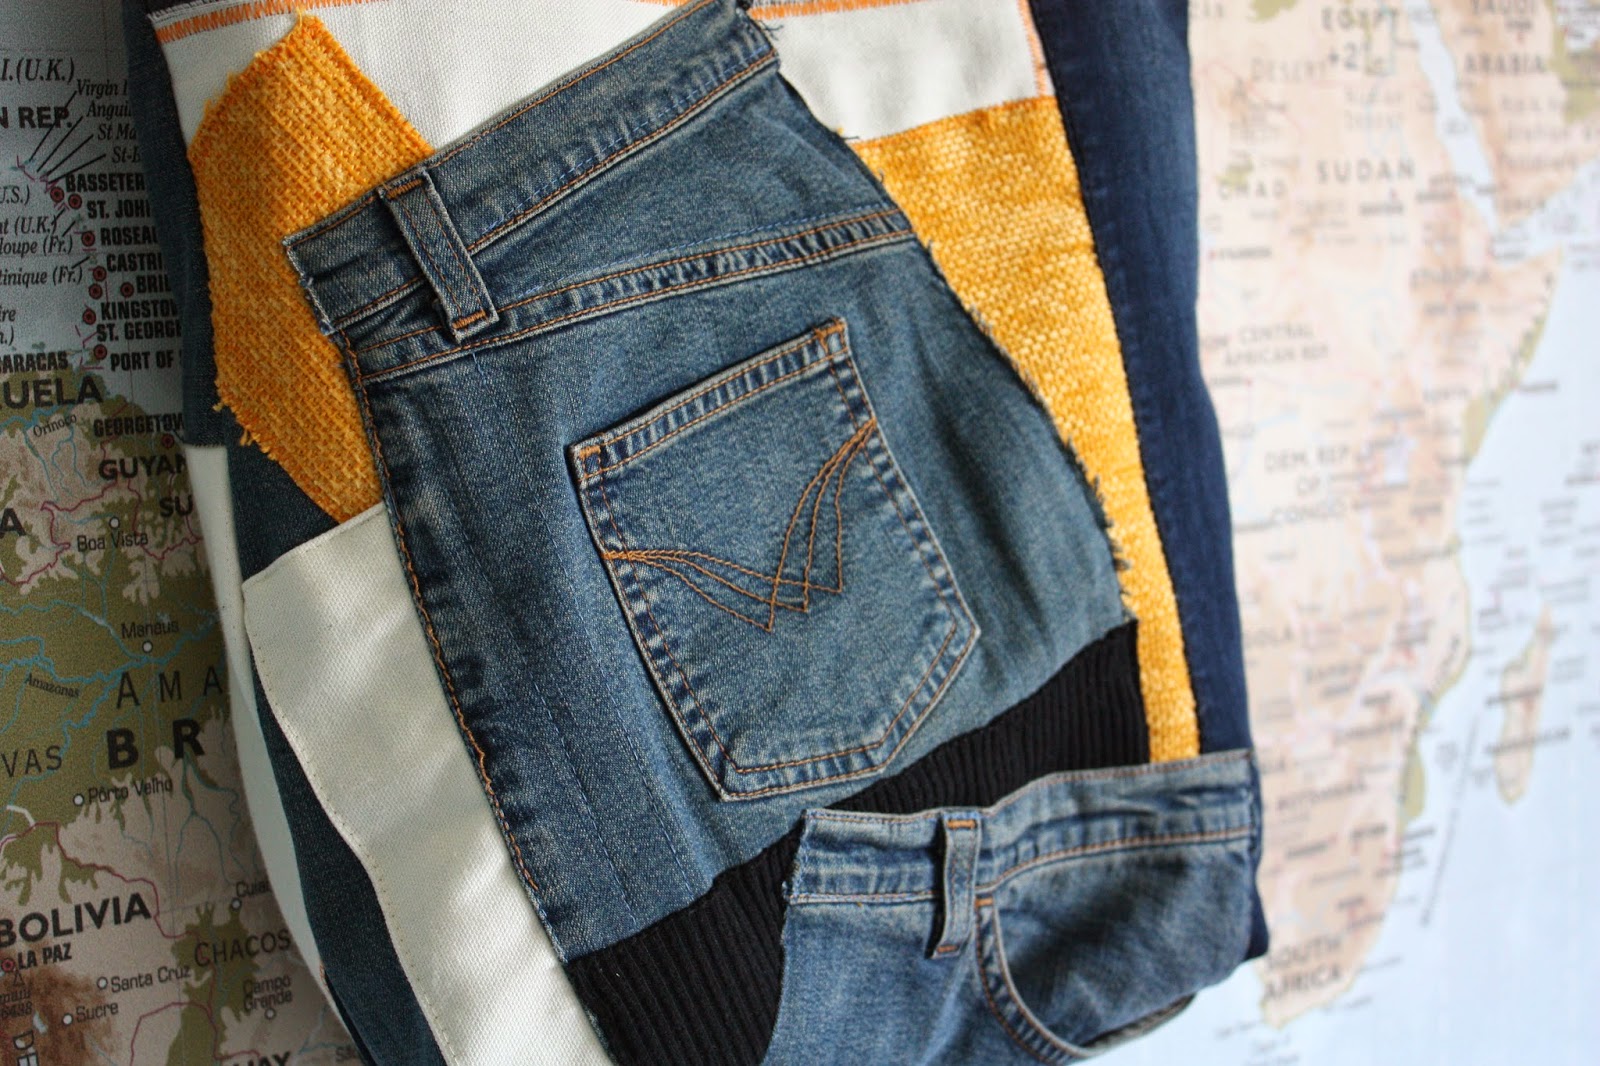
Della serie "non si butta via niente", la mia amica Sonia mi ha dato due paia di vecchi jeans ai quali era molto legata e mi ha detto fammi una borsa…..ho aggiunto qualche pezzo di stoffa ed ecco qua il risultato…..
ho iniziato così, tagliando i jeans e mettendo tutti pezzi sul tavolo di lavoro, lasciandomi un po' ispirare dalla stoffa
I started cutting the jeans and putting all the pieces on the table, and let the fabric inspire me
una volta fatto questo ho deciso che modello volevo e la "tote bag", tipo shopper è quello che mi piace di più….non riporto le misure perché, come dicevo, lasciandomi ispirare ho fatto tutto un po' ad occhio.
Comunque si ricavano prima i due pezzi di stoffa esterni, una volta deciso con che stoffa si vuole foderare l'interno si tagliano due pezzi uguali agli esterni e si passa ad applicare la tasca interna della borsa.
Si prende la chiusura lampo e si segna la lunghezza della lampo, dove ci sono i dentini per intenderci.
Si taglia al centro del rettangolo ottenuto e si ripiegano internamente i due lembi di stoffa
then I decided which kind of bag I would like to build and choose the tote bag because is the one i like most….I can't write down the measures because, as I told you, I've been inspired along the way…….
Anyway, you cut down the two outside pieces of the bag and once you've decided which fabric to use for the lining, cut two pieces as big as the outside…..and now let's make the interior pocket
Mark and draw the zipper opening at the wrong side of the lining and draw a center line.Cut the center line, fold and press the zipper opening
Si applicano sul rovescio della lampo le due pezze di stoffa che formeranno la tasca, io ho imbastito tutto per far si che fosse più semplice cucire dopo.
Turn to the wrong side, place the pocket lining with right side facing down pin it or just sew by hand if it's easier for you
A questo punto, si cuce prima la lampo utilizzando l'apposito piedino, e poi sul rovescio, si cuciono i tre lati della tasca.
now sew the zipper first then on the back side sew the three sides of the pocket
now sew the zipper first then on the back side sew the three sides of the pocket
Lascio qui il link che ho guardato io dove è spiegato passo passo in modo molto semplice
Here is the link with a very simple tutorial
 |
| Craft Passion |
si puntano i manici nella borsa esterna, e si rovescia, all'intero si inserisce fa fodera in modo che i due pezzi siano dritto su dritto. Si cuce il bordo superiore lasciando circa 15 cm per girarla.
Dall'apertura si tira fuori l'esterno della borsa, a questo punto la troverete dritta, e poi la fodera come si vede nella foto.
For the handles I used a nylon strap that I bought at Leroy Merlin which is 3 cm wide.
Now, if you don't want to put a zipper to close your bag, you just have to sew the three sides either of the exterior and of the lining…now you are almost done
put the handles on the right side of the exterior side of the bag and turn it on the wrong side. Put the lining inside so that they face right side togheter and sew along leaving a 15 cm opening to turn the bag. This is how you'll find your bag once you've turned it right side out
Si inserisce la fodera nella borsa, e si cuce un'impuntura tutt'intorno al bordo in modo da rifinire la borsa e rinforzare i manici.
Now iron and topstitch
La borsa è pronta
Se invece volete inserire la chiusura lampo come ho fatto io, potete seguire questo tutorial ricchissimo di foto….praticamente dovrete lavorare sulla fodera per inserire la lampo e poi si confeziona come quella senza lampo.
The bag is ready
if you want a recessed zip for your bag just click on this tutorial which is really easy and full of pictures
 |
| Sewing Novice |
Buon lavoro!!!! alla prossima
See you!!


Nessun commento:
Posta un commento